Stylized Shading in UE5: Part One

For my final project in the Become a Technical Artist course taught by Aaron Aikman and Evan Edwards through ELVTR, I chose to look at creating a stylized shader using Blueprints and HLSL in Unreal.

Fundamentally, the material is based around a few simple concepts stacked together - Gooch style shading(as opposed to Lambertian falloff), quantization to produce cel shading/banding effects, a sine operation to produce cross hatching, and an edge detection effect using the normals to create an outline.

The end goal was to produce a shader that was less high contrast/graphic feeling than a standard stylized material, but rather a softer look that would simulate the feeling of bounce lighting and indirect inherently. In particular I was inspired by some of the shading effects seen in The Legend of Zelda: Breath of the Wild, especially the Hyrule Plains, where the trees and hills showed soft transitions from light green in the direct sun to a darker green and secondary blue tones from the sky. Gooch shading was ideal for simulating this effect, as it naturally transitions between 2 or more colors depending on the angle of view and direction of the light.

The above is the equation that describes Gooch shading. Another key resource I looked at for this project was Non Photorealistic Rendering by Bruce and Amy Gooch, which also describes this equation.

Fundamentally it’s very simple, I is a normalized vector in the direction of the light source, in this case the primary sun in Unreal, and n is a normalized vector of the surface normal. 1 + the dot product of these two vectors is divdid by 2, then multiplied against a color value, k. By adding k cool to k warm, the result is color final, which is a blend between the two colors depending on the angle of the surface vs the light source. Effectively, k cool will be shown in the areas exposed to light, and k warm will be shown in the shadowed areas, with a smooth transiton between the two(or vice versa, depending on the color selected; k cool and k warm could both be 2 similar colors).

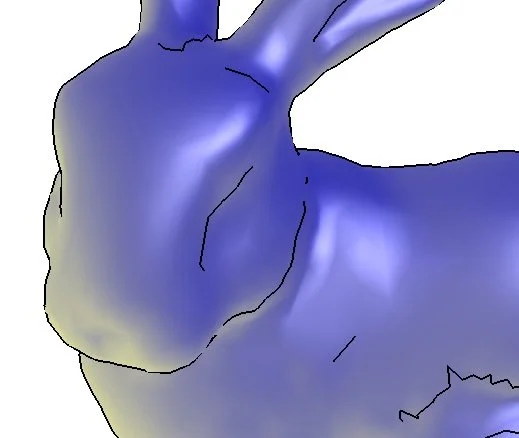
An example of Gooch shading applied to the Stanford Bunny as shown on Wikipedia

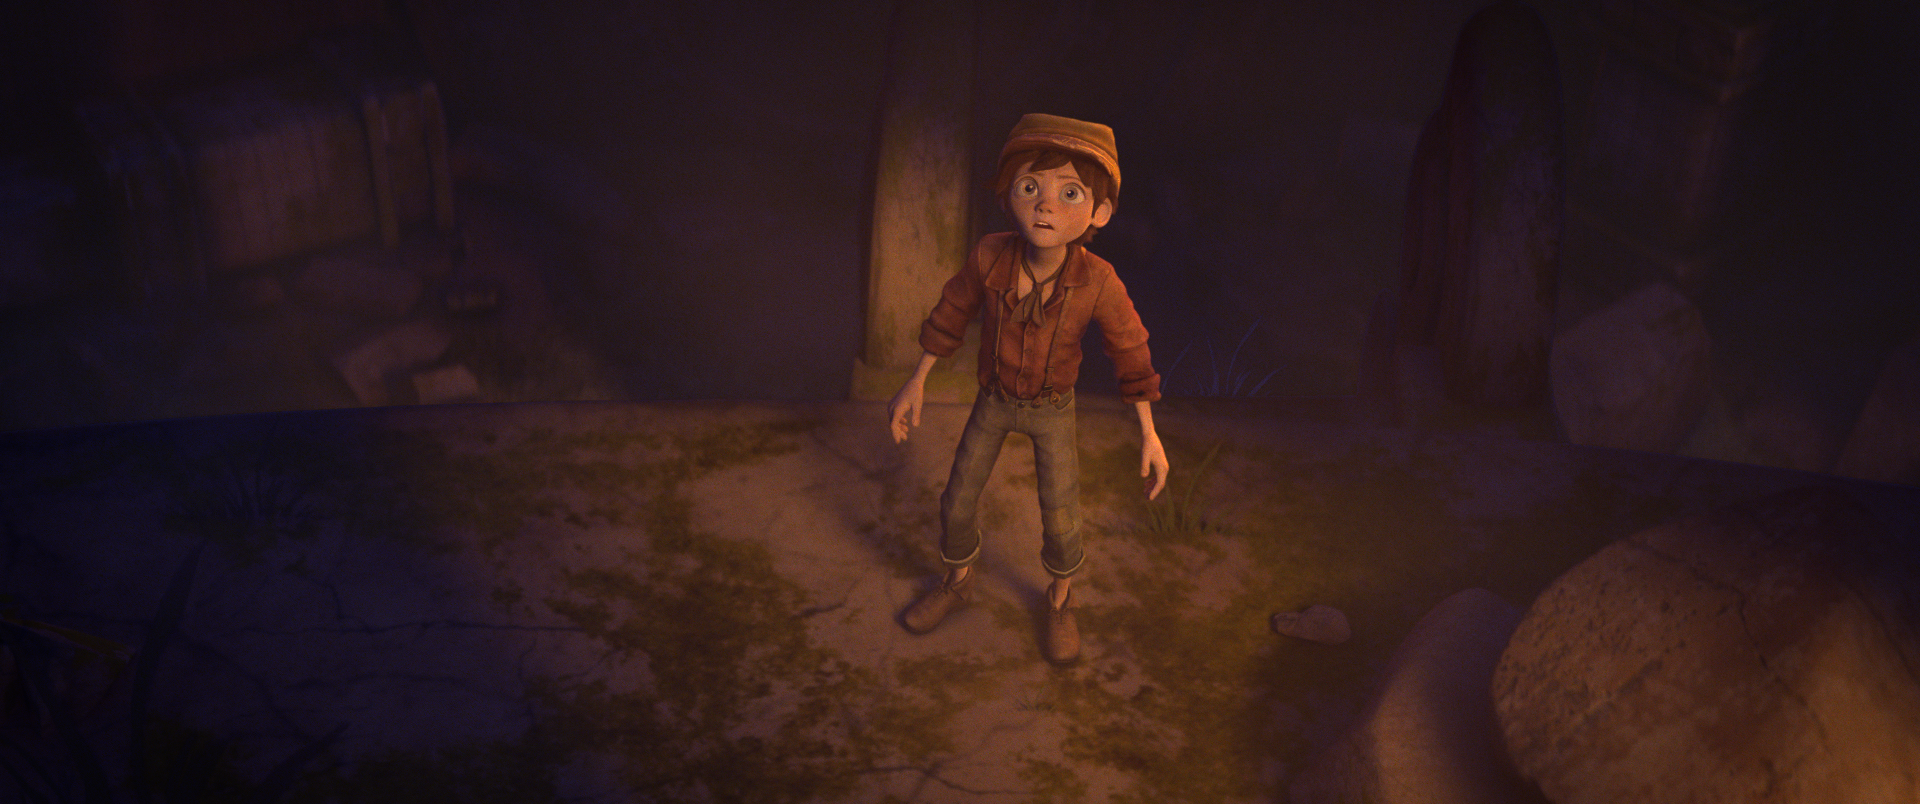
Gooch shading in Unreal

My goal was to implement a version of this with many additional parameters for stylization that could be enabled by the user to achieve a hand drawn look, specifically an effect that approximately simulated water color painting with pen and ink outlines and hatching, not unlike many comics or the look of Calvin and Hobbes. In part two and beyond I’ll dive into the shader network I built and document it’s functionality.

Parsing text files in Python

For this exercise, the goal was to open a text file, parse through the list of words and numbers, and reorder them. Then, sort them so that the lines or elements in the text file are arranged in a pyramid structure. So instead of one word/number pair per line, there’s now an increasing number of word/number pairs on each line, ie. 113 keen on line 1, and 114 great 115 okay on line 2, and 3 elements on line 3, and so on. Below is the script I came up with:

CodeToHTML
############################################################################
'''
Alex Corll
3/30/2024
Decode a message exercise
'''
###########################################################################
import os
import sys


def decode():
     # Read the content of the file
    text = sys.argv[1]
    #print(text)
    try:
        with open(text'r'as textfile:
            # r strip will strip our new line \n escape character
            content = [line.rstrip() for line in textfile]
            num_lines = len(content)
            # Array to hold all our numbers
            txt_numbers = []
            txt_strings = []
            
            # Loop over our parsed content and print each line
            for k in range(num_lines):
                # Use a place holder 2d array to add our elements
                # This gets overwritten each time our loop runs
                split_content_line = content[k].split()

                # Append text numbers and convert to int
                txt_numbers.append(int(split_content_line[0]))

                txt_strings.append(split_content_line[1])

            # Debug print calls
            print(f'Our complete list: {content}')
            print(f'Our list has this many lines: {num_lines}')


            print(f'Our list of numbers: {txt_numbers}')
            print(f'Our list of strings: {txt_strings}')

            # Here we will create a tuple list from our 2 lists
            sorted_txt_numbers = sorted(txt_numbers)
            txt_zipped = list(zip(txt_numbers,txt_strings))
            
            print(f'Our zipped list: {txt_zipped}')
            # Create a list to hold our tuple queries when 
            # we find a match.  If there's a match, add to this list.
            # The lambda sort will rearrange our zipped list in order
            sorted_list = list(sorted(txt_zippedkey=lambda xx[0]))

            # Print the sorted list
            print(f'Our sorted list: {sorted_list}')
            print(f'i in list: {sorted_list[0]}')
            print(f'End of list: {sorted_list[num_lines - 1]}')
            pyramid_sort_lst = []
            i = 0
            row_length = 1
            
            length_sort = len(sorted_list)
            print(f'Length sort: {length_sort}')
            # While i is not equal to the last element in the list, 
            # keep processing our list
            # Everytime this loop runs we will append 1 more element
            # of the list to the next line
            while i < length_sort:
                if i == num_lines:
                    exit()
                else:
                    print(f'Skipped to this element: {i}')
                    print(f'Currently on row element {sorted_list[i]}')
                    print(f'Current row length: {row_length}')
                    
                    if row_length == 1:
                        pyramid_sort_lst.append([sorted_list[i]])
                        print(f'First entry in pyramid: {pyramid_sort_lst}')

                    if row_length > 1:
                        pyramid_sort_lst.append(sorted_list[(i):
                                                    (i + row_length)])            
                    # As row length increases, offset i accordingly
                    if i > length_sort:
                        exit
                    else:
                        i += row_length
                    
                    # Increase our maximum row length with each iteration
                    row_length += 1

            # Print the list sorted in our pyramid format
            print(f'Our pyramid sorted list: {pyramid_sort_lst}')
            print(f'Length of pyramid: {len(pyramid_sort_lst)}')
            for newline in pyramid_sort_lst:
                # Printing the line without center formatting
                print(f'New line of our pyramid: {newline}')
            # Declare a string array that will hold our decoded words
            end_string_array = []
            # Loop over our list and print each line, checking line length
        for line in pyramid_sort_lst:
                # Printing the line without center formatting
                print(f'New line of our pyramid: {line}')
                # print our line length for each line
                print(f'Length of line: {len(line)}')
                line_end = len(line)
                # Extract the string at the end of the line
                if line_end < 2:
                    print(f'Short line: {line}')
                    current_line_end = line[line_end - 1]
                    # Unpack our tuple on the current line
                    end_numend_string = current_line_end
                    print(f'Current line end word: {end_string}')
                    end_string_array.append(end_string)

                else:
                    print(f'Chunk at end of line:{line[line_end - 1]}')
                    current_line_end = line[line_end - 1]
                    print(f'Current line end: {current_line_end}')

                    # Unpack our tuple on the current line
                    end_numend_string = current_line_end
                    print(f'Current line end word: {end_string}')

                    # Append this string to a new string
                    end_string_array.append(end_string)

        # Print our new list, our extracted secret message
        print(f'Our list of decoded words at row end: {end_string_array}')
                        
    except FileNotFoundError:
        print(f"File {text} not found."

if __name__=="__main__"
     decode()


Virtual Production - On Set for Europa

Recently I had the opportunity to reconnect with a former colleague, Eric Roth, who is serving as VFX Supervisor on a short film being made in collaboration with USC Film School. He invited me to participate in post production vfx work as well as assisting in data acquisition on set. For me it was a great excuse to get to see Pixomondo’s new LED volume. The volume utilizes Sony’s Crystal LED displays which you can read more about here: Crystal LED BH displays

The volume is located at Sony Pictures in Culver City on a sound stage managed by Pixomondo and built/financed by Sony Innovation Studios. Sony Pictures Virtual Production Stage

The shoot also provided an opportunity to test out Cooke cinema prime lenses, as well as the latest Sony Venice digital cameras, with revised firmware and features, including LED volume sync to mitigate flickering issues associated with filming a digital display.
Sony Venice cameras

The stage is being used to create the virtual locations for Europa. If you’re a bit of an astronomy/space buff you’ll know this is one of the moons of Jupiter, which has been theorized to have a liquid ocean beneath its icey surface. As a result the focus of the environment centers around creating a large ice cave environment, as well as the lunar surface.


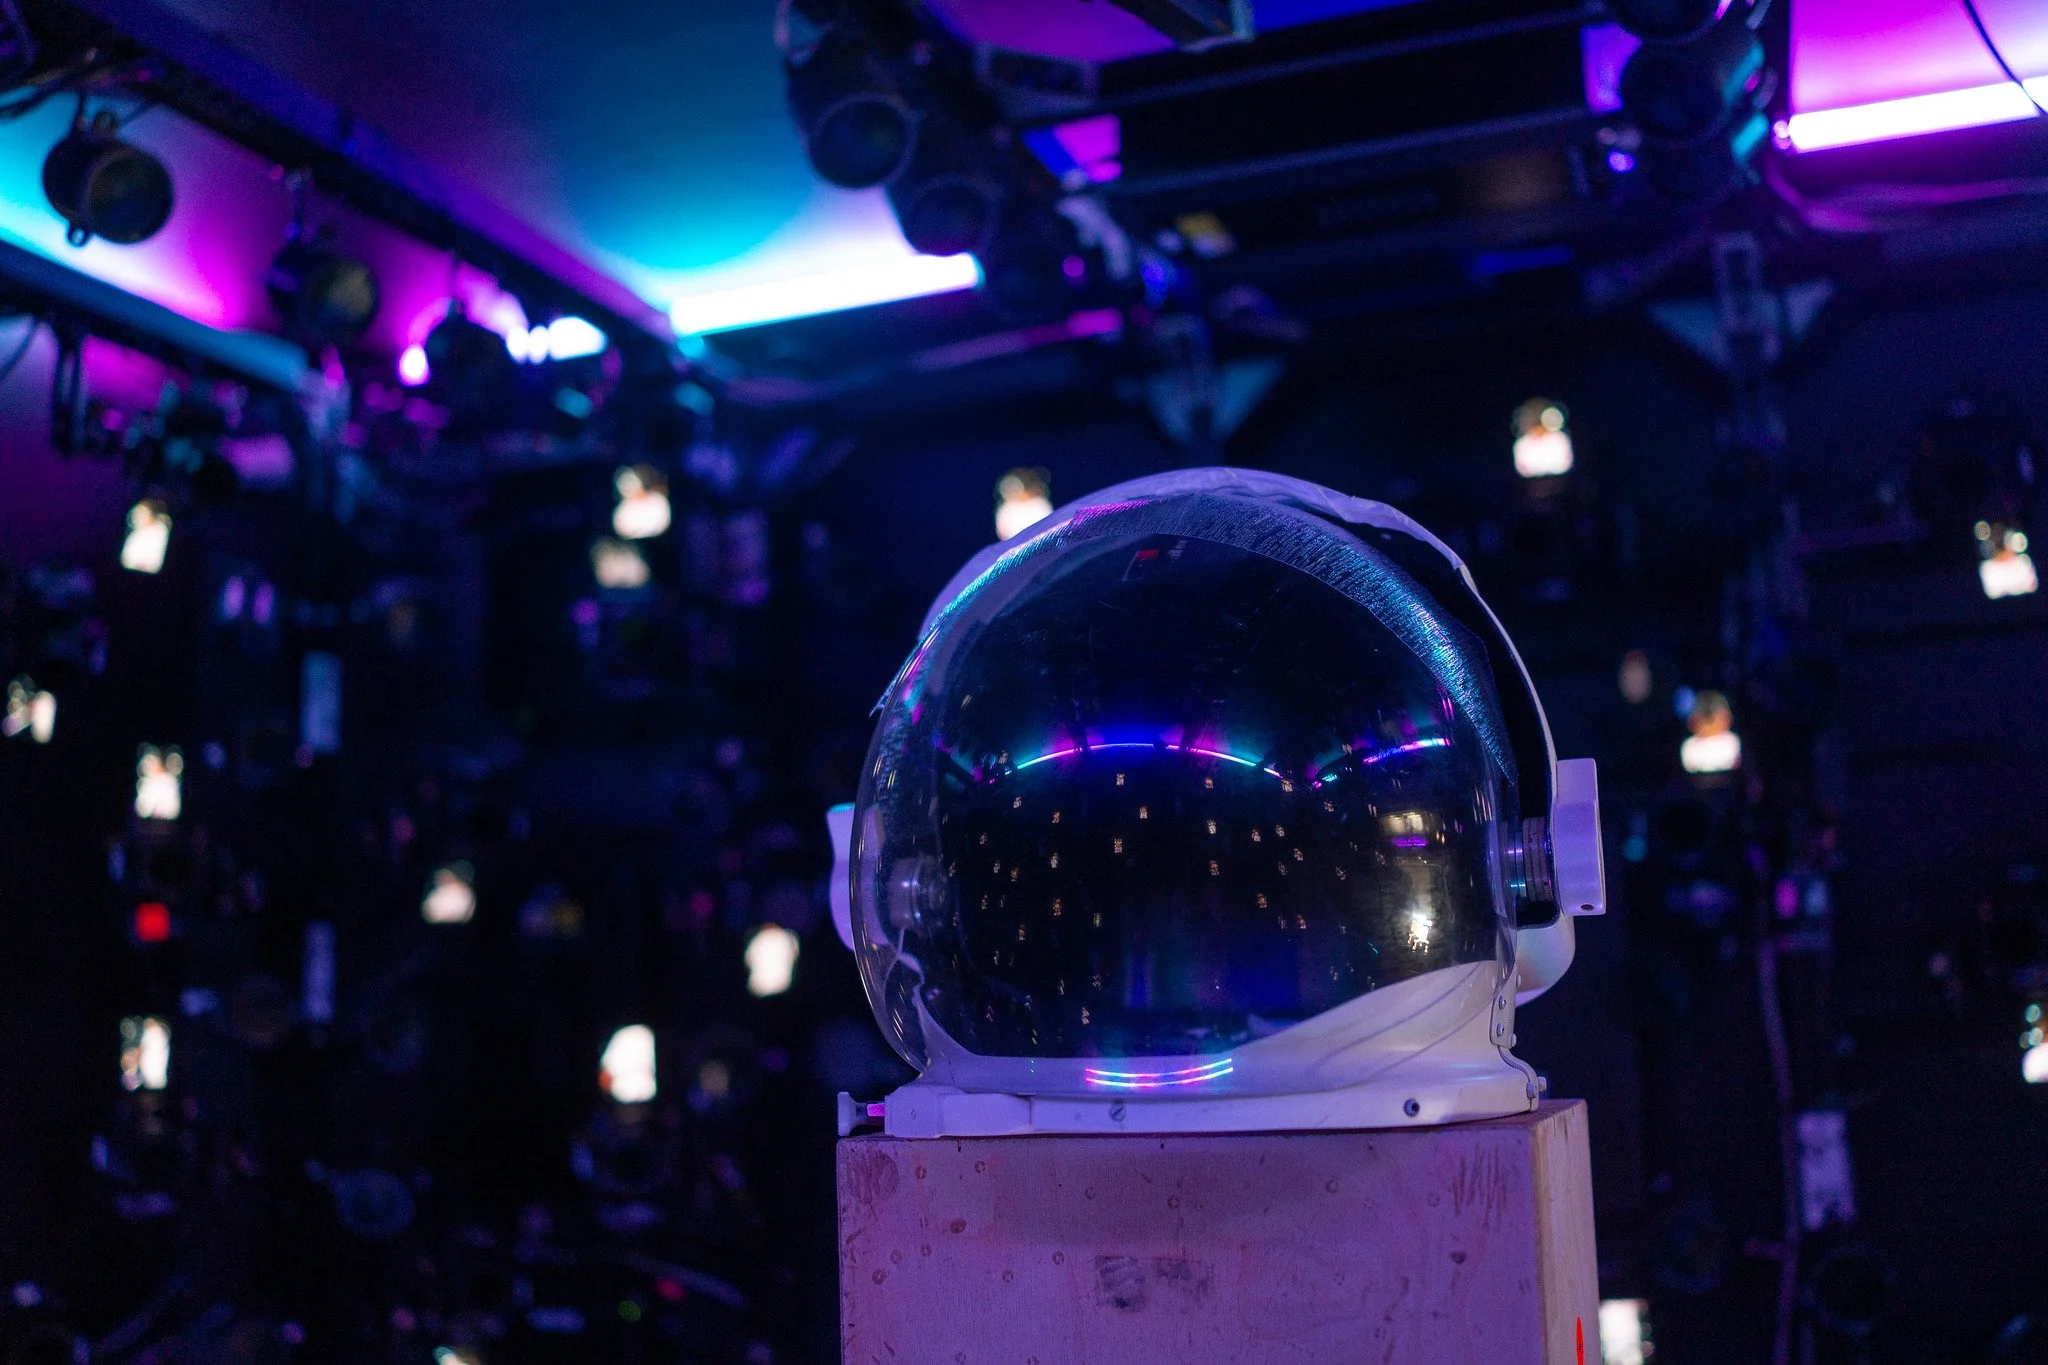
In addition to visiting set, I also got to take some of the props to be scanned by The Scan Truck as a part of my informal duties as ‘vfx data wrangler’. They’re known for their work on For All Mankind in scanning and photogrammetry of assets, so of course they were the right choice to scan and capture data on the costumes, which were replica astronaut suits. Work will be done in post to replace and/or augment the helmet, particularly the visor to reflect the surrounding environment. Over the course of a few hours they completed full lidar scans of the helmets as well as texture acquisition. They supplemented this data with a full 360 capture of the helmets in their photogrammetry setup, comprised of dozens of Canon slr cameras mounted on a cage setup inside their truck. The setup is fully portable, intended to drive on to shooting locations.

Snapshot of the helmet inside the photogrammetry capture cage.

More to come as production wraps over the next few weeks and the team moves into post production work.